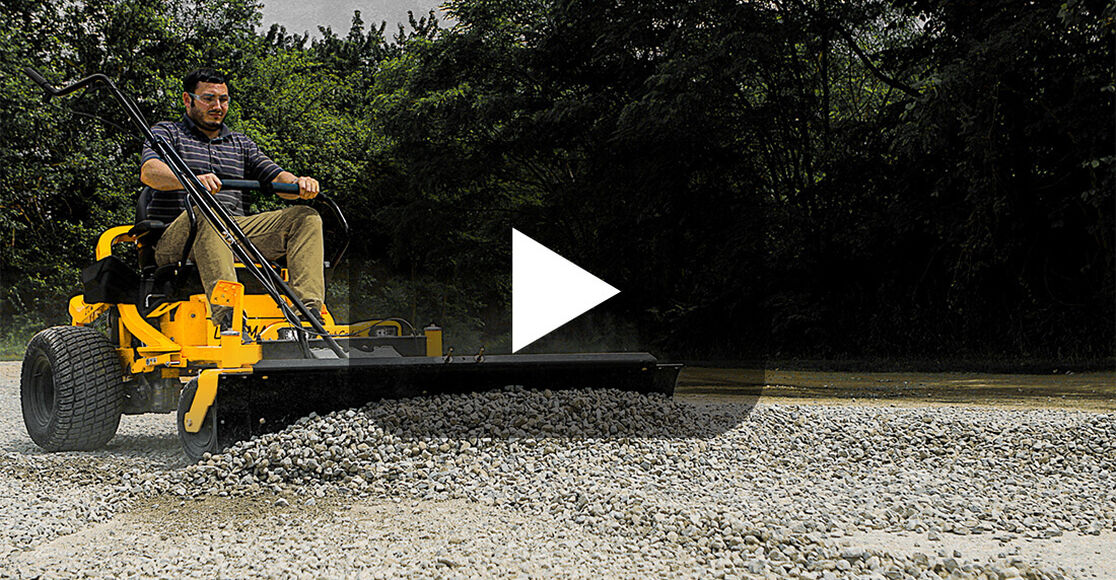
The following video will show you how to install the All-Season Plow on your Ultima Series Zero-Turn mower. Depending on your model, the instructions in this video may vary slightly. Always be sure to check your operator's manual for detailed instructions.
Instructions:
Step 1: Prepare your Ultima zero-turn mower for maintenance. Place your mower on a flat, level surface. Turn the mower off and make sure the engine is cool. Remove the ignition key, disconnect the spark plug ignition wire, and engage the parking brake. This helps ensure the machine doesn't start accidentally and cause you or those around you harm.
Step 2: Start by laying out the parts of the All-Season Plow.
Step 3: Attach the mounting plates. Place over the openings and use four hex screws to properly position them.
Step 4: Position the large plate flange side down. Secure each plate with washers, lock nuts and tighten until flush.
Step 5: Install the “H” bracket. Face the longer arms toward the plate and align the holes. Place clevis pins through the holes and secure with bowtie pins.
Step 6: Mount the front bracket. Slide the upper lip over. From the bottom up, secure the bracket with the carriage bolts and lock nuts.
Step 7: Swing the “H” bracket up to meet the front bracket. Secure the “H” bracket with clevis pins and bowtie pins.
Step 8: Insert the flange bearings into the front mount bracket.
Step 9: Attach the plow assembly. Lift the plow from underneath and position between the flange bearings.
Step 10: Slide the lift handle assembly through both bearings and the plow assembly. Secure the lift handle with self-tapping screws.
Step 11: Install the lift lock cable. Feed the cable through the arched shaped opening. Insert the Z-fitting of the cable into the hole on the lock pin. Slide the top nut and washer up into the mounting slot on the lift handle assembly. Tighten the nuts to secure the cable.
Step 12: Attach the pivot release cable. Insert the Z-fitting of the cable into the hole on the lever lock. Slide top nut and washer up and into mounting slot located on lever lock mounting bracket. Tighten the nuts to secure the cable.
Step 13: Attach the control handle to the pivot assembly. Working from top-down, secure lower control tube to plow assembly pivot plate on right side directly behind plow with shoulder screw, flat plastic washer and hex flange lock nut. The washer goes on the top of the bracket.
Step 14: Attach the ring to the lift handle.
Step 15: Feed the upper control arm through the ring and secure. Use two carriage bolts, curved washers and lock nuts.
Step 16: Mount cable levers. Secure the levers to the upper control tube with one screw each.
Step 17: Install the tube end plug and handle grip.
Step 18: Use zip ties to secure the cables.
Step 19: Tighten the cables using two wrenches.
Step 20: Test the controls.
Optional Blade Extension Kit Installation:
Step 1: Remove the first bottom bolt
Step 2: Line up the extension mounting holes
Step 3: Secure the extension with three carriage bolts
Step 4: Install the scraper extension
Step 5: Tighten all hardware
Step 6: Repeat steps for opposite side
Always use genuine OEM replacement parts when servicing your equipment. Use our parts finder to locate and order any replacement parts you may need for maintenance. Refer to your owner's manual for additional maintenance information.