The following video will show you how to install a triple bagger on your riding mower. The tools needed for installation include a 1/2 in. wrench and two 7/16 in. wrenches. Depending on your model, the instructions in this video may vary slightly. Always be sure to check your operator's manual for detailed instructions.
Instructions:
Step 1: Prepare your riding mower for maintenance. Place your mower on a flat, level surface. Turn the mower off and make sure the engine is cool. Remove the ignition key, disconnect the spark plug ignition wire, and engage the parking brake. This helps ensure the machine doesn't start accidentally and cause you or those around you harm.
Step 2: Start by laying out the parts of the triple bagger.
Step 3: Assemble mounting bracket. Attach the two side brackets to the rear attachment. Use the two carriage bolts and the wing knobs to secure them.
Step 4: Flip over the assembly and mount the hitch support bracket. Use the holes furthest away from the rear hooks. Use the two carriage bolts and the wing knobs to secure them.
Step 5: Mount assembly on tractor. Place hooked ends of the mounting assembly over the shoulder bolts on the rear frame of the tractor. Use the clevis bolt and hairpin clip to secure the bracket to the tractor.
Step 6: Install the upright support bracket.
Step 7: Place hanger assembly onto the upright support bracket. Secure using two carriage bolts and two 1/2” lock nuts and washers.
Step 8: Snap the upper chute support into place on the hanger assembly.
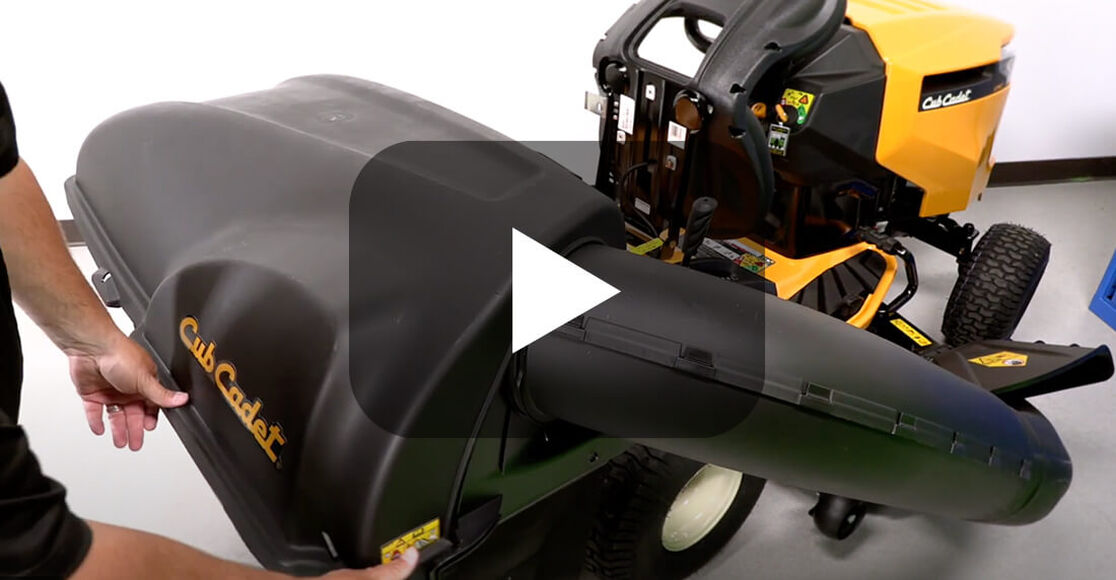
Step 9: Install the bagger cover. Slide the hinge pin through the mounting tabs.
Step 10: Place the bags on the hanger bracket.
Step 11: Apply the foam strip to the upper chute.
Step 12: Prepare the chute for installation. Install the boot rod mount using two nuts and two bolts. Tighten using two 7/16” wrenches.
Step 13: Slide the boot rod into the deck.
Step 14: Secure the boot with a wing knob.
Step 15: Install the upper chute.
Slide the upper chute onto the lower chute boot and position in the upper chute support.
Always use genuine OEM replacement parts when servicing your equipment. Use our parts finder to locate and order any replacement parts you may need for maintenance. Refer to your owner's manual for additional maintenance information.